
Pattern Making Fundamentals
Imagine trying to build a complex house without first sketching a blueprint on paper. You would likely run out of materials or find that the walls do not fit together correctly at the corners. Pattern making serves as that essential blueprint for every costume you create in the theater. It transforms two-dimensional fabric into a three-dimensional character that moves gracefully on the stage.
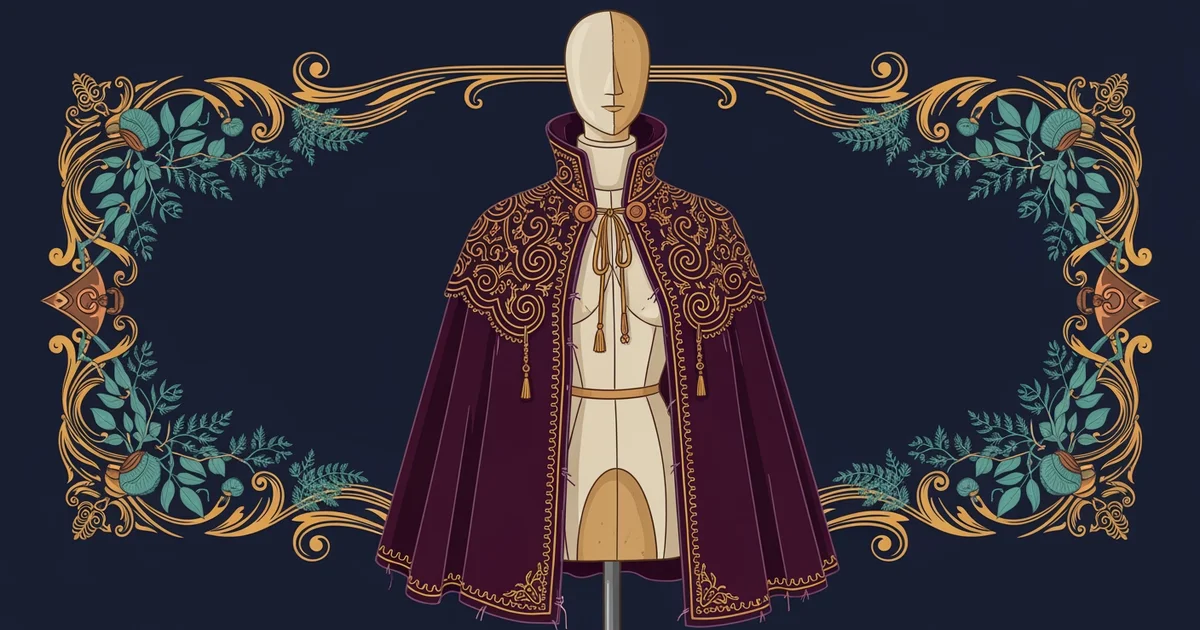
The Architecture of Fabric
When you begin the process of drafting, you must treat your paper as a foundation for your design. A flat pattern is a technical drawing that represents the shape of a garment piece laid out on a flat surface. Think of this process like cutting out a paper doll outfit, but with precise measurements that allow for human movement and comfort. If your flat pattern lacks accuracy, the final garment will pull or sag in awkward places during a performance. You start by drawing your base shapes on large rolls of paper, ensuring that every curve accounts for the body’s natural contours. This stage requires patience, as even a small error in your line can ruin the drape of expensive fabric later.
Key term: Flat pattern — a two-dimensional template used by designers to cut fabric pieces that will eventually form a three-dimensional garment.
Once you have your basic shapes, you must add seam allowances to every edge of your drawing. A seam allowance is the extra space provided between the cutting line and the sewing line of the fabric. Without this vital buffer zone, your garment would be far too small to fit the actor once you join the pieces together. You should consistently measure these allowances to ensure that your sewing remains straight and professional throughout the construction phase. Most costume designers use a standard width, which helps them maintain uniform tension when they move to the sewing machine. Keeping these margins clean and marked clearly prevents confusion when you are deep into the assembly process.
Translating Measurements to Shapes
After preparing your paper, you must translate the specific body measurements you gathered previously into functional pattern pieces. A simple skirt requires a waistband, a front panel, and a back panel, each shaped to fit the waist and hips. You use your measurements to calculate the curve of the waist, ensuring that it sits comfortably without digging into the skin. When you draft these pieces, you must also include notches that indicate where different panels should align during assembly. These small marks act as a map for the sewer, preventing the common mistake of attaching the wrong edges together. Following this logical sequence ensures that your garment maintains its intended shape and structure.
To ensure your skirt fits correctly, you must verify your draft against these essential construction elements:
- The grain line arrow indicates how the pattern piece must align with the fabric threads to ensure the garment hangs straight and does not twist while the actor moves across the stage.
- The center front and center back lines provide crucial orientation points that help you balance the garment on the body so it looks symmetrical from every viewing angle.
- The ease allowance adds a small amount of extra room to the pattern so that the actor can breathe, sit, and walk without putting dangerous tension on the seams.
By carefully checking each of these elements, you create a reliable guide for the construction phase. Each line on your paper represents a decision about how the costume will behave under stage lights. Taking the time to refine these shapes now saves hours of frustrating adjustments during the final fitting sessions. Precision at this stage is the difference between a costume that looks like a store-bought item and one that truly brings a character to life. You are essentially building a skeleton for the fabric to hang upon, which dictates the final silhouette of the costume.
Drafting accurate patterns requires translating body measurements into precise two-dimensional shapes that account for both movement and structural assembly.
Now that you have your flat pattern ready, we must explore how to join these pieces together using advanced sewing techniques.