
Island Integration
Imagine you are hosting a dinner party where the cook is trapped behind a wall while guests chat in the living room. You feel isolated and miss the joy of sharing stories while you finish the final plating for your hungry guests. Bringing a kitchen island into your floor plan removes that physical barrier and invites everyone to participate in the culinary process. By placing a central workspace in the heart of the room, you turn a solitary chore into a social event. This simple change improves your workflow while keeping you connected to the people you love. A well-placed island acts as the anchor for your entire kitchen design strategy.
Designing for Flow and Connection
When you add an island, you create a natural gathering point that invites guests to sit and talk. This design choice functions like a professional hub and spoke model where the island serves as the central station for all movement. Just as a busy airport terminal directs passengers to various gates, your kitchen island directs traffic flow around the main appliances. You can prepare fresh ingredients on the island surface while keeping a clear view of the dining area. This layout ensures you never turn your back on your guests for long periods. The island creates a soft boundary that separates the cooking zone from the social zone without closing off the space.
Key term: Kitchen island — a freestanding cabinet unit placed in the center of a kitchen to provide extra workspace and seating.
Calculating Necessary Clearance Zones
To ensure your kitchen remains functional, you must consider the clearance zones surrounding the island unit. These paths allow multiple people to walk past each other without bumping into the stove or the island edge. You should maintain at least forty-two inches of space for a one-cook kitchen to ensure safe movement. If two people cook together often, you should increase this distance to forty-eight inches for better comfort. A cramped kitchen feels chaotic, but proper spacing makes every task feel effortless and organized. You can use the following table to plan your specific kitchen dimensions effectively.
| Kitchen Type | Recommended Clearance | Best Use Case |
|---|---|---|
| Small Single | 36 to 42 inches | One cook only |
| Standard Dual | 42 to 48 inches | Shared cooking |
| Large Open | 48 to 60 inches | Social gathering |
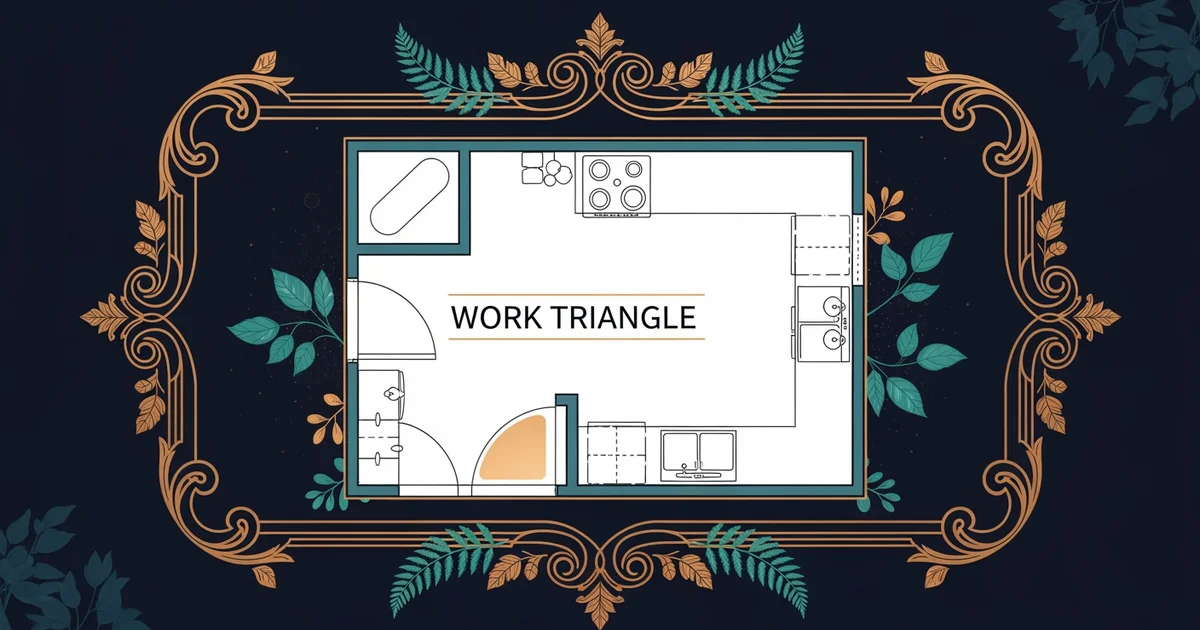
When you measure your space, remember that the island must not block the path between your sink, stove, and refrigerator. This triangle path is the most important route in your kitchen layout for efficiency. If you place the island directly in the middle of this path, you will constantly trip over your own feet. Instead, try to shift the island slightly to one side to keep the primary traffic lanes clear. Following these simple rules keeps your kitchen feeling open, airy, and inviting for everyone who enters.
- Measure the total room width to determine if an island fits comfortably.
- Mark the floor with tape to visualize how the island impacts your walking paths.
- Verify that all cabinet doors and oven doors have enough room to swing open.
- Adjust the island size to maintain the minimum clearance required for your family needs.
Proper planning prevents the island from becoming an obstacle in your daily culinary routine. You want a workspace that supports your cooking habits rather than one that complicates your movement. By focusing on these specific zones, you create a kitchen that serves your needs for years to come. Your home will feel more functional and connected every time you prepare a meal for your family.
A well-planned island acts as the central hub of the kitchen, balancing necessary workspace with comfortable social interaction through precise clearance measurements.
The next Station introduces storage solutions, which determine how you organize your tools within your new kitchen layout.