
Garnish Placement Rules
A plate of food often looks flat and uninviting until you add the right finishing touch. Placing a garnish is like choosing the perfect frame for a piece of fine art. When you build height, you change the way a guest sees the entire meal. This skill transforms a simple dinner into a professional experience that captures full attention. By applying basic rules of geometry, you can create depth that draws the eye upward.
Establishing Verticality and Depth
When you build vertical height, you must consider the balance of the plate as a whole. A tall garnish creates a focal point that keeps the diner interested throughout the meal. Think of this process like building a small skyscraper on a foundation of solid ingredients. If the base is too wide, the tower looks heavy and lacks grace in its design. If the base is too thin, the structure might fall before it reaches the table. You should start by grouping delicate herbs to create a dense cluster. This cluster acts as a sturdy anchor for taller, thinner elements like chive stems. By layering these items, you add physical dimension that makes the dish appear more complex and intentional.
Key term: Garnish — the decorative element added to a finished dish to enhance its visual appeal and texture.
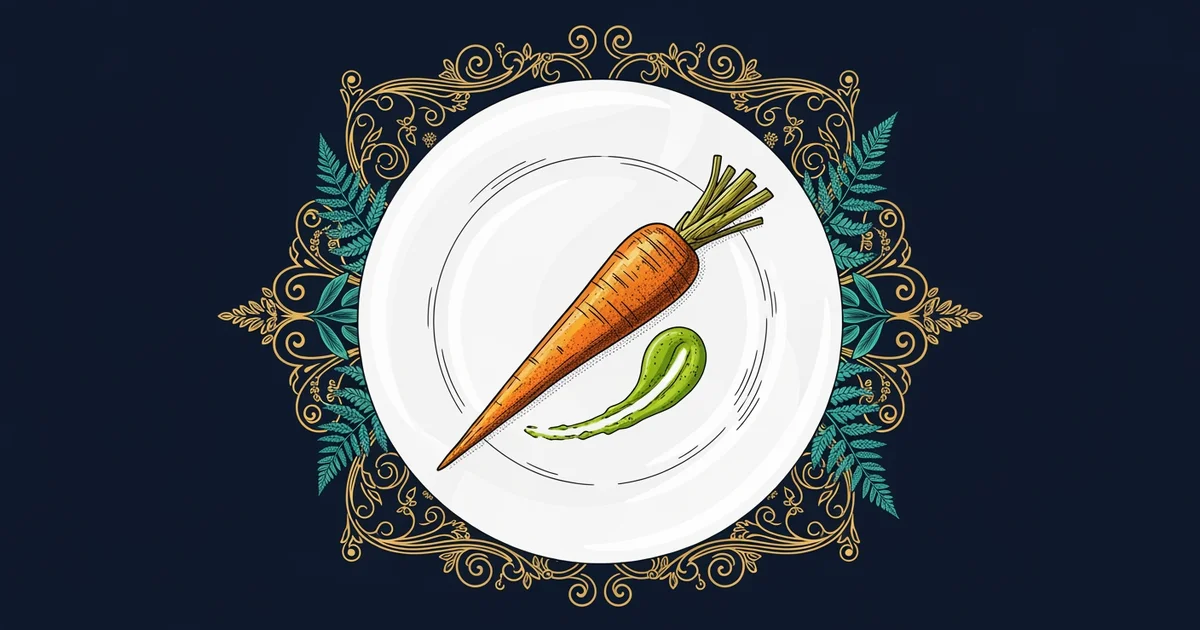
Once you have your base, you must focus on the placement of secondary elements to build depth. Placing a garnish in the center of the plate creates a strong, singular focal point. If you place items off-center, you create a sense of movement that leads the eye across the plate. This technique is similar to how a store manager arranges window displays to guide shoppers toward specific items. You want the eye to travel through the dish rather than stopping at one spot. By using different heights, you create a landscape that feels natural rather than forced or stiff. Small changes in placement can lead to big improvements in the overall look of the food.
Mastering Herb Placement Techniques
To ensure your herbs stay upright, you must understand the mechanics of delicate plant structures. Fresh herbs often wilt when they touch hot surfaces or heavy sauces for too long. You should place these items at the very last second before the plate leaves the kitchen. Use tweezers to handle the herbs with care so you do not bruise the soft leaves. A bruised leaf will lose its vibrant color and look limp against the food. When you arrange the herbs, try to mimic the way they grow in a garden. This natural look feels more authentic and pleasant to the guest than a perfect, symmetrical circle. Focus on these three core strategies for better herb placement:
- Layering textures: Combine soft micro-greens with crisp stems to create a contrast that keeps the eye moving.
- Varying heights: Use tall, thin herbs to provide upward lift while keeping smaller leaves near the base.
- Clustering items: Group herbs in odd numbers to create a balanced look that feels less like a rigid grid.
Following these steps helps you maintain control over the visual flow of your presentation. When you group items in odd numbers, you create a natural visual tension that is pleasing to the human brain. Symmetry can sometimes look too clinical, but odd-numbered clusters feel organic and inviting. Always check the plate from the side to ensure the height is consistent with your vision. If the garnish looks lopsided, adjust the angle of the tallest stem to restore the balance. This simple check ensures that every guest receives a plate that looks polished and professional.
Strategic placement of garnishes uses height and odd-numbered groupings to guide the viewer’s eye through the dish.
Now that you understand how to build height, how do you select the right tools to execute these precise movements?