
Hearth and Fire Management
You are staring at a pile of glowing embers while your dinner sits waiting for the right amount of heat to cook properly. Managing an open fire requires a keen eye for how wood transforms into coal because that heat dictates the success of your meal. You must learn to read the fire like a map, identifying which areas provide intense sear and which offer gentle, slow warmth. If you fail to control the fuel, your meat will either char on the outside or remain raw in the middle.
Mastering Thermal Zones
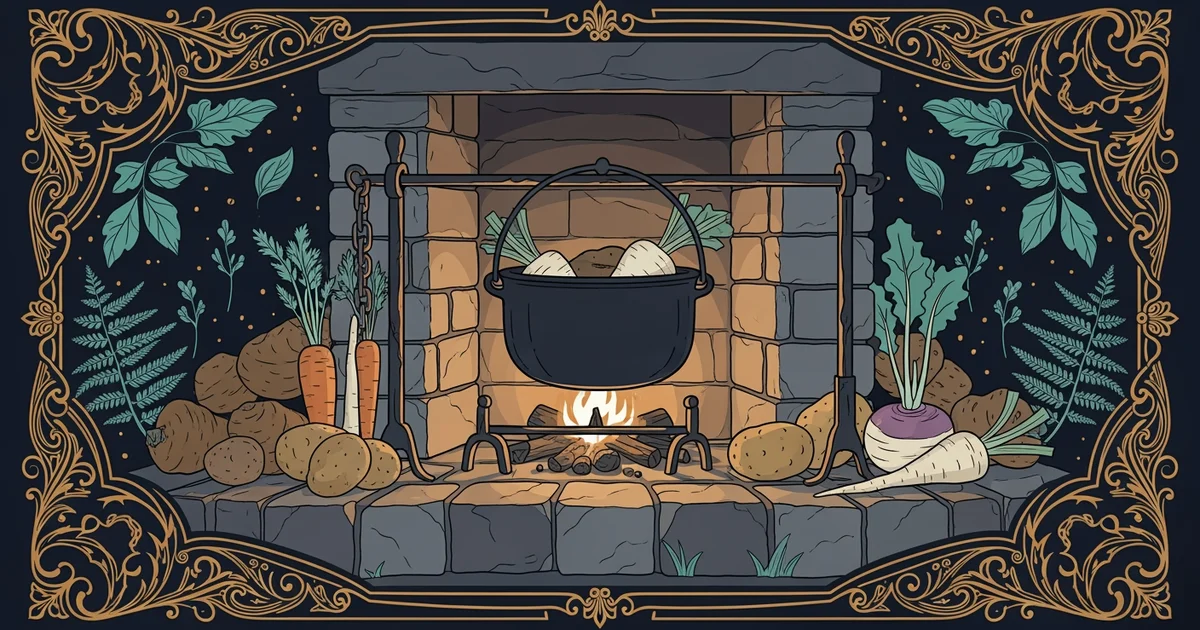
To control temperature effectively, you must understand that an open hearth creates distinct heat zones based on the state of the fuel. Fresh wood flames provide high, unpredictable heat, while white-hot coals offer a steady, radiant surface perfect for roasting. Think of your hearth like a professional kitchen stove where the fire pit is the burner and the distance from the coals is your dial. Moving your cooking vessel closer to the center increases the intensity, while pulling it toward the perimeter mimics a low simmer. You are essentially managing a living, breathing energy source that demands constant attention to maintain consistent thermal output.
Key term: Thermal zones — the specific areas of heat intensity created within a hearth by varying the density and location of hot coals.
Building a successful fire involves preparing the wood well before you start the cooking process. Hardwoods like oak or hickory are ideal because they produce long-lasting, uniform coals that do not impart bitter flavors to your food. You should ignite your wood early, allowing it to burn down until the flames subside and a thick bed of glowing embers remains. This stage is crucial because raw flames often create uneven cooking and soot buildup. By waiting for the coals to reach a uniform grey glow, you ensure that the heat source is stable enough for precise culinary work.
Managing Heat Through Distribution
Once the coals are ready, you must distribute them to match the specific needs of your recipe. If you need a high-heat sear, you should concentrate a dense pile of coals directly beneath the meat. For slow roasting, spread the coals out to create a wider, gentler heat field that surrounds the vessel without scorching it. This distribution method acts like a dimmer switch on a light, allowing you to fine-tune the intensity of the heat without changing the fuel source. You must observe the color of the embers, as bright orange indicates active heat while a dull grey layer suggests the coals are losing power.
To keep the temperature steady during a long roast, you must periodically move fresh coals from the edge of the fire pit into the center. This rotation maintains the thermal density required to cook through thick cuts of meat without burning the exterior. The process follows a specific logic to ensure the fire stays active:
- Coal Raking: You must shift glowing embers to the base of the cooking area to replenish heat lost through radiation.
- Ash Management: You should clear away excess white ash from the coals to prevent it from insulating the heat and blocking airflow.
- Fuel Addition: You must add small, dry pieces of wood to the perimeter of the fire to ensure a continuous supply of new coals.
Maintaining these factors prevents the temperature from dropping suddenly, which would stop the cooking process and potentially ruin the texture of the meat. You are essentially acting as the mechanical regulator for a system that lacks a digital thermostat. By watching the color of the coals and the reaction of the meat, you learn to adjust the fire intuitively. This active participation turns the act of cooking into a direct dialogue between the chef and the elemental heat source.
Effective hearth management relies on your ability to manipulate the density and placement of glowing coals to create stable, predictable heat zones for different cooking requirements.
The next Station introduces preservation through fermentation, which explores how ancient cultures used natural chemical processes to store food for long periods.