
Relief Carving Basics
Imagine you are carving a path through a thick, overgrown forest to create a clear trail. You must remove the brush and heavy branches to reveal the smooth dirt road underneath for others. Relief carving functions in this exact way by removing material from a surface to create a visible image. Artists use tools to cut away parts of a wood block that should remain empty. The remaining raised areas catch the ink and transfer the design onto paper. This subtractive process requires careful planning because every cut you make is permanent and cannot be undone.
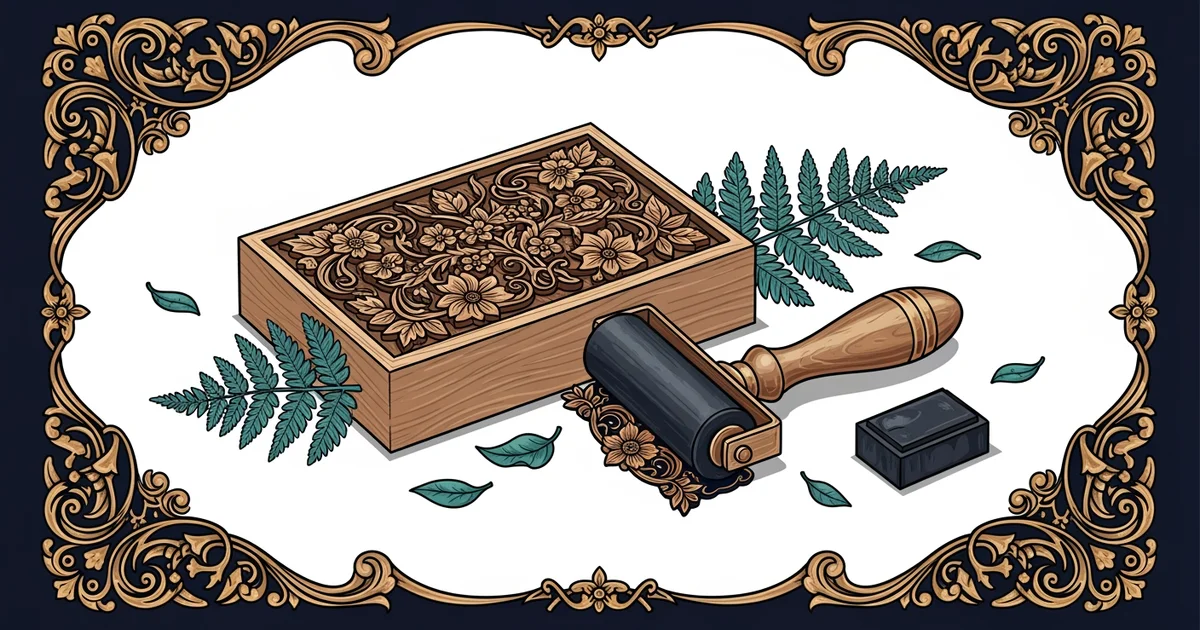
The Mechanics of Subtractive Creation
When an artist begins a relief print, they must think about the relationship between light and shadow. The surface of the block represents the highlights of the final print. By carving away the wood, the artist creates negative space where the paper will show through the ink. This is much like a stencil where the solid parts hold the shape while the holes allow the ink to pass. If you carve too deeply, you risk breaking the block or losing the stability of the wood. You must balance the pressure of your tools with the grain of the material to ensure clean lines. The artist becomes a navigator of the surface, deciding which areas to preserve and which to discard entirely.
Key term: Relief carving — a printmaking method where the artist removes material from a block so that the raised surface holds the ink.
Thinking about the process as a sculptor helps clarify how the image emerges from the wood. A sculptor adds material to build a form, but a printmaker subtracts material to reveal it. This reversal of roles makes the planning stage vital for every creative project. You must visualize the final result before you touch the wood with a sharp tool. The following list highlights the primary considerations for successful carving:
- Material selection involves choosing a wood density that allows for smooth cuts without splintering under the pressure of the carving tool.
- Tool maintenance keeps the blades sharp so the artist can control the depth and width of every single mark made.
- Negative space design ensures that the background areas are carved deep enough to remain clean when the ink is applied.
Visualizing the Printed Result
Once the carving is complete, the artist applies ink to the raised surfaces using a roller. The pressure of the press then forces the ink from the block onto the paper. This transfer turns the physical wood carving into a reproducible piece of fine art. Because the block is durable, the artist can create many identical versions of the original work. This efficiency makes relief carving a powerful tool for sharing visual ideas with a wider audience. The relationship between the block and the print is a direct reflection of the artist's initial choices.
| Stage | Action | Result |
|---|---|---|
| Design | Sketching | Planning the layout |
| Carving | Removal | Creating negative space |
| Inking | Application | Covering the raised surface |
| Printing | Pressure | Transferring ink to paper |
Every step in this table shows how the physical effort directly influences the final aesthetic. If the carving is shallow, the ink might smudge into the negative spaces during the printing phase. If the carving is too deep, the block might lack the strength needed to withstand the press. The artist must maintain a steady hand to keep the balance perfect throughout the entire creation cycle. Mastering these basics allows the creator to focus on the message of the art rather than the technical struggle of the medium. Through this disciplined approach, the artist transforms a single block into a series of unique prints that carry the same visual impact.
Understanding how the subtractive process defines negative space allows artists to transform a single wood block into multiple original works of art.
The next Station introduces Intaglio Line Work, which determines how lines are etched into metal plates instead of carved from wood.