
The Exposure Triangle
Imagine you are trying to fill a water bucket while the faucet pressure changes constantly. Capturing a great photograph requires balancing similar forces to ensure your final image looks perfect. You must manage how much light enters the camera and how long the sensor stays exposed to that light. This balance is the foundation of every professional image you see in magazines or online galleries today. Mastering this delicate relationship allows you to control the brightness and the mood of your visual stories.
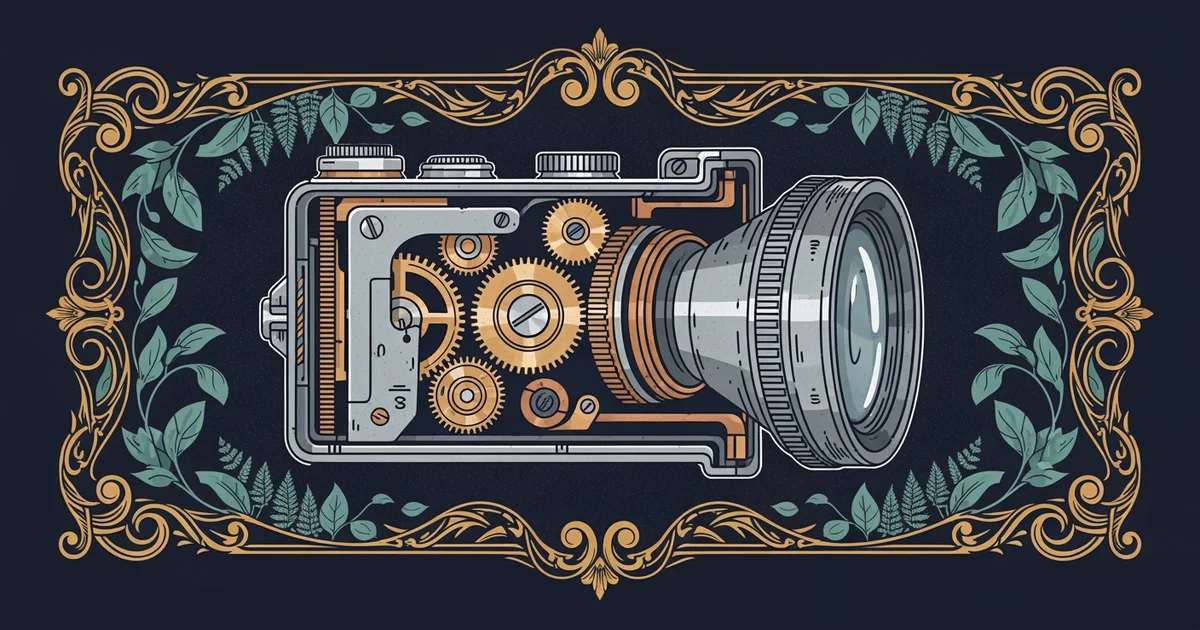
Understanding the Aperture and Shutter
When light enters your camera body, it passes through an opening known as the aperture. This mechanical iris expands or shrinks to control the total volume of light reaching the sensor. Think of this opening like a window in your house during a bright sunny afternoon. If you open the curtains wide, a large amount of light floods the room very quickly. If you keep the curtains mostly closed, only a tiny sliver of light enters the space. Photographers adjust this size to determine how much illumination hits the sensor surface during every single shot.
Once the light passes through the lens, it reaches the sensor for a specific duration called the shutter speed. This mechanical gate opens and closes to dictate exactly how long the light touches the sensor. If the shutter stays open for a long time, the sensor collects a massive amount of light data. If the shutter snaps open and shut very fast, the sensor captures only a brief moment of the scene. You can compare this process to filling a bucket with water from a garden hose. The aperture is the width of the hose nozzle, while the shutter speed is the time you hold the handle down.
Key term: Exposure — the total amount of light that reaches the camera sensor to create a single photograph.
To manage these two settings effectively, you must understand how they interact with each other in real time. If you choose a small aperture that lets in little light, you must keep the shutter open longer to compensate. If you choose a large aperture that lets in tons of light, you must use a faster shutter speed to avoid overexposure. Finding the right balance ensures your photo is not too dark or too bright. This trade-off is the central challenge that photographers face whenever they pick up their equipment to shoot.
Balancing Light for Perfect Results
Adjusting these two settings requires a clear plan based on the available light in your environment. Use the following table to understand how these mechanical adjustments change the final appearance of your captured image:
| Setting | Wide Opening | Narrow Opening | Fast Speed | Slow Speed |
|---|---|---|---|---|
| Light Amount | High volume | Low volume | Low volume | High volume |
| Motion Effect | Sharp image | Sharp image | Frozen action | Blurred action |
| Depth Effect | Soft background | Sharp background | No change | No change |
When you work in a dark room, you need to open the aperture wide to gather enough light. You might also need to slow down the shutter speed to give the light more time to register. If you are outside on a bright beach, you must do the opposite to prevent the image from becoming pure white. You need to close the aperture to restrict the light flow significantly. You should also increase the shutter speed to ensure the image does not get blown out by the sun.
- First, check the ambient light level to see if the scene is bright or dim.
- Second, set your aperture to control the light volume and the background focus area.
- Third, adjust your shutter speed to match the aperture and freeze any moving subjects.
- Finally, take a test shot to see if the brightness matches your creative vision.
Mastering these steps ensures that you never lose a great shot due to poor light settings. Practice changing these values in different rooms to see how the camera reacts to your specific choices. You will soon find that balancing these two forces becomes second nature during your daily photography sessions.
Achieving the perfect exposure requires a precise balance between the volume of light allowed through the lens and the duration of time the sensor remains exposed.
The next Station introduces ISO sensitivity, which determines how much the camera sensor amplifies the light it finally receives.