
Hard Versus Soft Light
Imagine standing under the direct midday sun and watching your shadow form a sharp, dark edge on the ground. When you move into the shade of a large tree, that same shadow becomes soft and fuzzy at the edges. This simple shift illustrates the fundamental difference between light qualities that every photographer must understand to control their visual results. Light behaves differently based on the size of the source relative to the subject you are filming.
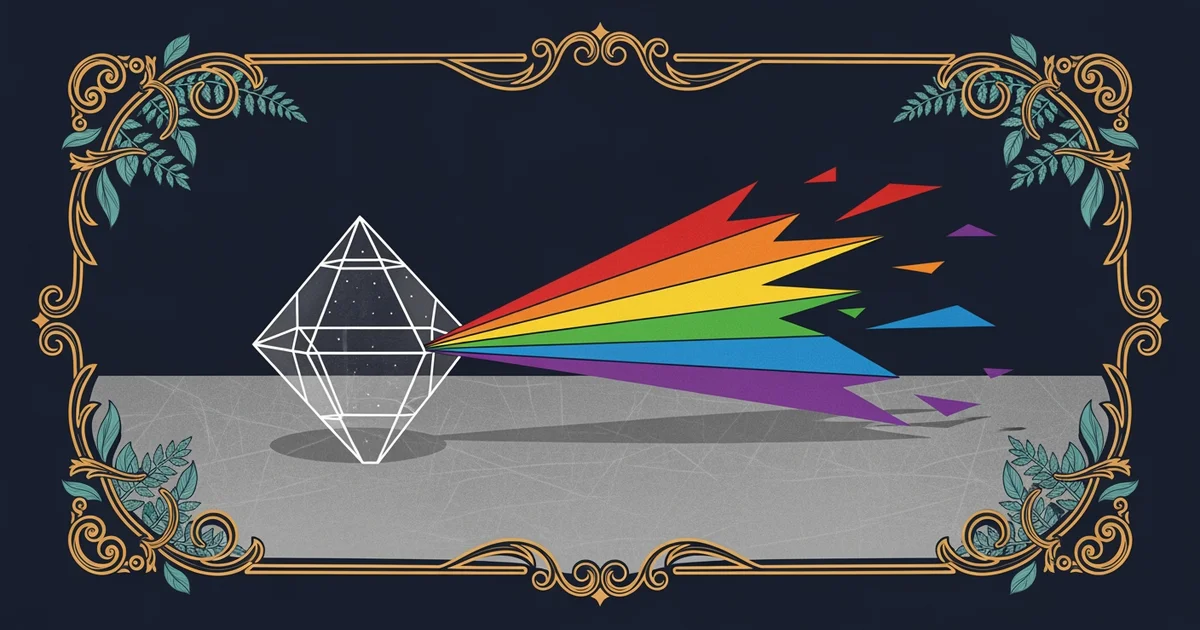
The Physics of Light Diffusion
When light travels directly from a small source to an object, it creates hard light which produces high contrast. This type of illumination is characterized by distinct edges where the light transitions into deep shadows. Because the light rays arrive from a single, narrow point, they cannot wrap around the curves of your subject effectively. Think of this like a laser pointer hitting a wall, as it creates a very specific, intense point of brightness. Photographers use this quality when they want to emphasize texture or create a dramatic, moody atmosphere in their images.
Conversely, soft light occurs when the light source is physically large or when the light passes through a diffusion material. By spreading the light over a wider area, the rays hit the subject from many different angles at once. This wrapping effect fills in the harsh shadows and creates a gentle transition between the brightest highlights and the darkest areas. Imagine the difference between a bare lightbulb in a dark room and that same bulb covered by a thick, white fabric lampshade. The lampshade acts as a large surface that scatters the light, making the shadows look much smoother and less intimidating.
Key term: Diffusion — the process of scattering light rays in multiple directions to reduce the intensity of shadows and highlights.
To manage these qualities, you must choose the right modifiers for your specific creative goal in the studio. You can compare the impact of different light modifiers on the final image quality by looking at how they change the light source size:
| Modifier Type | Effect on Light | Best Use Case |
|---|---|---|
| Bare Reflector | Keeps light hard | High-contrast portraits |
| Softbox | Makes light soft | Flattering skin tones |
| Diffusion Gel | Softens light | Taming bright windows |
When you select a modifier, you are effectively deciding how much you want to control the transition from light to dark. A small, bare light source creates a very aggressive look that highlights every single pore or imperfection on a face. If you want a more natural or pleasing look, you should use a large softbox to increase the surface area of your light. This effectively mimics the way sunlight feels when it is filtered through thin clouds on an overcast day. By increasing the size of the source, you make the light much more forgiving for your subject.
Understanding these properties allows you to manipulate the mood of your scene without needing expensive, high-end equipment. You can transform a simple lamp into a professional tool simply by placing a thin white sheet in front of it. The sheet becomes the new light source, which is much larger than the original bulb. This simple change turns hard, distracting shadows into smooth, professional-looking gradients that guide the viewer's eye. Mastery of this concept gives you the power to dictate the emotional tone of your photographs through light alone.
Controlling the size of your light source relative to the subject allows you to dictate the softness of shadows and the overall mood of your visual story.
The next Station introduces directional lighting, which determines how the placement of your light source creates depth and dimension in your frame.