
Texture Mapping Principles
Imagine you have a complex wooden model kit that arrives as a flat, unpainted sheet of plywood. You must carefully peel away each piece and glue it onto the frame to build the final structure. This process mimics how digital artists apply flat images to three-dimensional models to give them realistic surfaces. Without this step, your digital objects would look like dull, grey clay blocks instead of detailed items. Mastering this technique allows you to breathe life into cold, lifeless shapes inside your computer software.
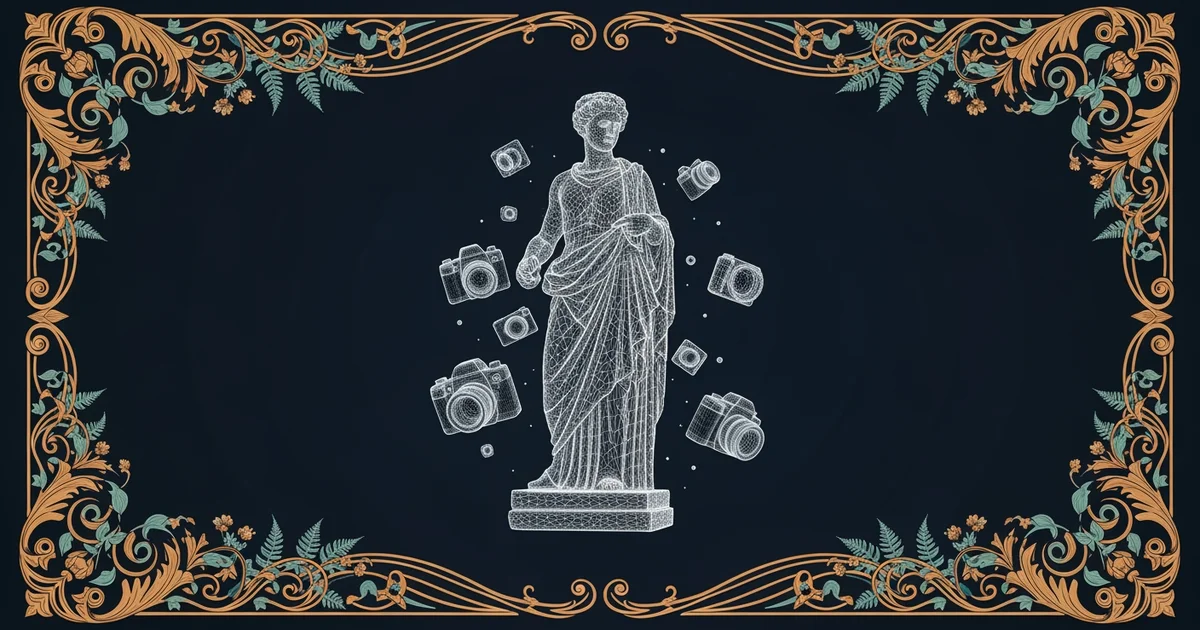
The Logic of Surface Flattening
To wrap a flat image around a complex 3D shape, we use a process called UV mapping. Think of this like peeling the skin off an orange and laying it flat on a table without tearing the peel. The computer assigns a coordinate system to the surface of your model using letters U and V instead of X and Y. These coordinates tell the software exactly which pixel from your image belongs on which part of the 3D surface. By flattening the 3D mesh into a 2D space, you create a guide for applying colors and patterns. This mapping prevents the image from stretching or warping awkwardly when it wraps around corners or curves.
Key term: UV mapping — the technical process of projecting a 2D image onto a 3D model surface to provide realistic color and texture data.
When you assign these coordinates, you are essentially creating a blueprint for the digital object. If the mapping is poor, the textures will look blurry or misaligned, which ruins the illusion of depth. Proper mapping requires you to place seams in hidden areas, much like how clothing designers hide seams along the sides of a shirt. A well-executed map ensures that the pattern flows smoothly across the entire object. This attention to detail defines the difference between a amateur model and a professional digital asset.
Applying Texture Data to Geometry
Once the coordinates are set, you apply the actual visual data to the surface of the object. This data is often called a texture map, which contains the colors, bumps, and reflections for the surface. The software reads the coordinates you defined earlier to place every pixel in the correct position on the mesh. You can use different types of maps to control how light interacts with the object. For example, some maps dictate how shiny a surface appears, while others define deep cracks or scratches. This layered approach creates high-fidelity visuals that fool the human eye into seeing complex materials.
| Map Type | Purpose | Visual Impact |
|---|---|---|
| Diffuse Map | Base color | Sets the primary surface shade |
| Normal Map | Surface detail | Simulates small bumps and ridges |
| Specular Map | Light reflection | Controls shine and glossy highlights |
Using these maps effectively requires understanding how different surfaces behave in the real world. A metal surface reflects light differently than a rough piece of fabric, so you must choose your maps with care. By combining these layers, you achieve a level of realism that makes digital objects look tangible. You are essentially painting the model using a mathematical guide that ensures every brushstroke lands exactly where it should. This systematic method is the foundation of all modern digital art and game design.
- First, you identify the seams on your 3D geometry to allow for flat unwrapping.
- Second, you unfold the geometry into the 2D plane to create the UV guide.
- Third, you paint or project your texture onto this guide to match the model.
- Finally, you apply the finished texture map to the object within your rendering engine.
Successful texture mapping relies on accurate coordinate placement to ensure that two-dimensional images wrap seamlessly around complex three-dimensional forms.
The next Station introduces object selection criteria, which determines how you choose the best geometry for your specific project needs.