
Calculating Exposure Times
When you try to capture the stars, your images often show blurry streaks instead of sharp points. This happens because the Earth rotates beneath the night sky while your camera sensor records light. To keep stars looking like tiny, crisp dots, you must limit how long the shutter stays open. If you let the sensor gather light for too long, the movement of the planet turns those beautiful stars into messy white lines across your frame. Mastering your exposure timing is the difference between a clear view of the galaxy and a blurry, disappointing photograph.
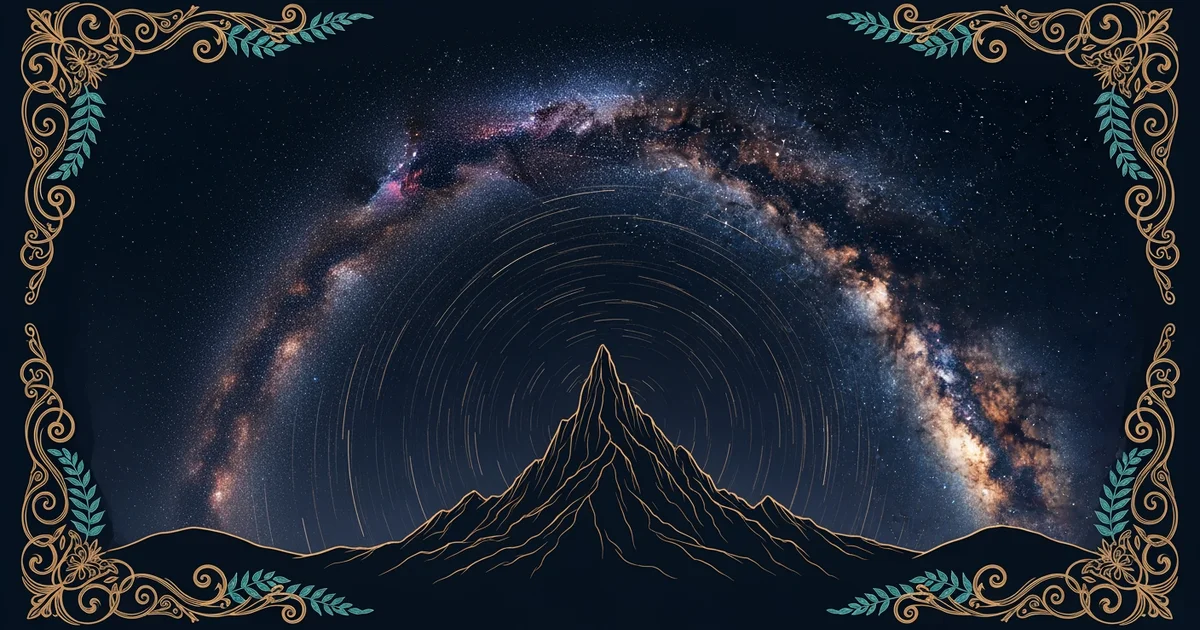
Understanding the Mechanics of Earth Rotation
Because the Earth spins on its axis, every object in the sky appears to move slowly across your field of view. When you use a long exposure, your camera acts like a witness watching a slow race between the horizon and the stars. If you keep the shutter open for even a few seconds, the sensor records the star in one spot and then records it again as it shifts slightly. These shifting points of light create the trails that many beginners accidentally capture during their first night sessions. Think of this like taking a photo of a moving car from a distance; if your shutter speed is too slow, the car will appear as a blurry smear rather than a distinct vehicle. You must balance the need for enough light with the need to freeze the apparent motion of the celestial sphere.
Key term: Exposure time — the specific duration that a camera shutter remains open to allow light to reach the sensor.
To calculate how long you can keep that shutter open, you need a simple tool called the 500 rule. This mathematical guide helps you find the maximum exposure time before the rotation of the Earth causes visible star trailing. By dividing the number 500 by your lens focal length, you get a reliable estimate for your shutter speed. For example, if you use a 50mm lens, you divide 500 by 50 to get a limit of 10 seconds. This calculation provides a safe starting point that keeps your stars sharp and clear for most standard photography setups. It is a quick way to ensure your hardware works with the physics of the planet rather than against it.
Applying the 500 Rule in the Field
Once you know the math, you should test it under different conditions to see how your gear performs. Different lenses require different settings, so you must always adjust your math when you change your equipment. The following table shows how focal length changes your maximum exposure time for a standard full-frame camera setup:
| Focal Length | Calculation | Max Exposure Time |
|---|---|---|
| 20mm | 500 / 20 | 25 Seconds |
| 50mm | 500 / 50 | 10 Seconds |
| 100mm | 500 / 100 | 5 Seconds |
Using this table as a guide, you can quickly adapt to any lens you bring into the field. If you find that your images still show slight trailing, try reducing your exposure time by another second or two. This is like budgeting your money; it is safer to spend a little less than your maximum limit to ensure you do not run out of room for error. Always remember that your goal is to capture enough light to see the stars while stopping the clock before the rotation becomes obvious.
When you adjust your settings, consider these three factors that influence your final image quality:
- Sensor resolution impacts how visible trailing appears, as high-resolution cameras reveal tiny movements that smaller sensors might hide entirely.
- Declination of stars changes the speed of apparent motion, because stars near the celestial poles move much slower than those near the equator.
- Viewing size affects your perception of trailing, since a small screen hides minor movement that becomes very obvious when viewed on a large monitor.
By keeping these factors in mind, you can refine your technique and move beyond the basic math to achieve professional results. Practice is essential because every camera model reacts slightly differently to the same light conditions. Start with the 500 rule, observe your results, and make small adjustments until your stars look like perfect, static points of light.
Calculating the right shutter speed allows you to freeze the apparent motion of the sky for clear, sharp images.
But what does it look like in practice when you need to keep the shutter open for even longer periods?
Want this with sources you can check?
Premium Learning Paths for Astronomy & Space Exploration are researched against open-access libraries — PubMed, arXiv, government databases, and more — with their distinctive claims cited to real sources and independently checked.
See what Premium includes