
Understanding Light and Exposure
Imagine you are trying to fill a bucket with water from a very slow garden hose. If you leave the tap open for a short time, the bucket remains mostly empty. If you keep the tap open for a long time, the bucket eventually overflows with water. Capturing light from the stars works in the exact same way as filling that bucket. You must decide how much time your camera needs to gather enough light to form a clear image. Understanding this timing is the core of taking great photos of the night sky.
The Mechanics of Digital Light Capture
When you press the button on your camera, a mechanical door inside the body opens. This door is the shutter. It allows light to travel through the lens and strike the digital sensor. The sensor acts like a light-sensitive surface that records every photon hitting it. If you leave the shutter open for a long duration, the sensor collects more light. This process creates a brighter image of faint celestial objects like distant galaxies or nebulae. Without enough time, the sensor records nothing but black space because the stars are too dim.
Key term: Shutter speed — the length of time that the camera sensor remains exposed to incoming light from the environment.
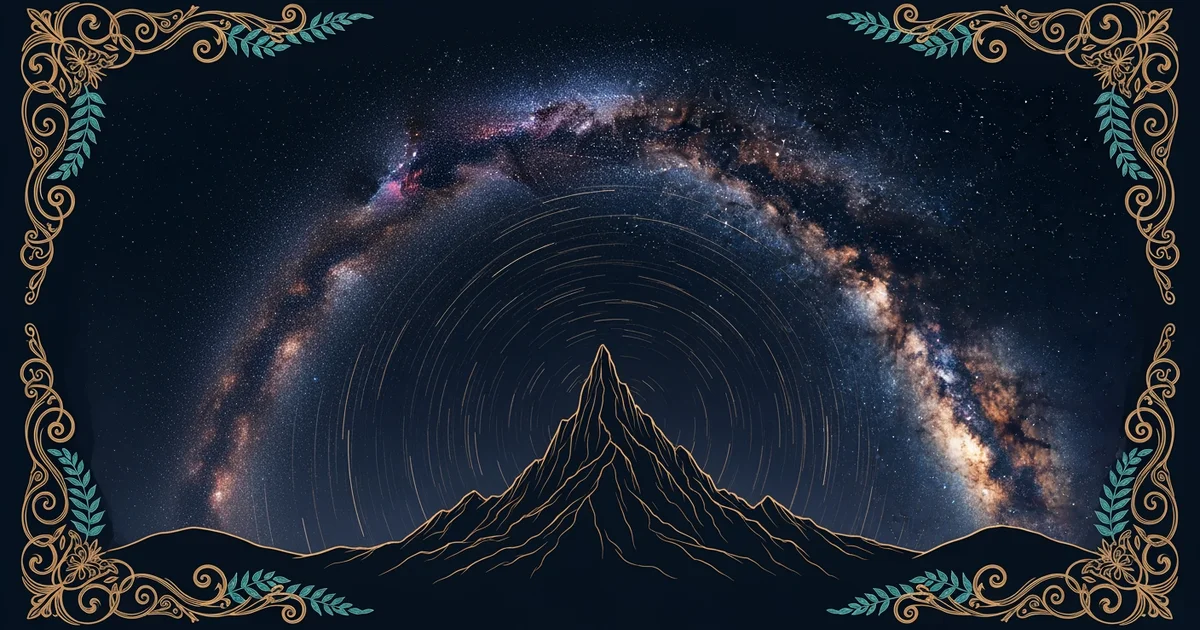
To manage this light, you must control your exposure. This term describes the total amount of light that reaches the sensor during a single shot. If your exposure is too short, the resulting image will appear dark and grainy. If your exposure is too long, the stars might appear as streaks rather than points. This happens because the Earth rotates while your camera is recording the scene. Balancing these two needs is the primary challenge for every person who wants to photograph space.
Balancing Sensitivity and Timing
Finding the right balance requires you to adjust how sensitive your camera is to light. Digital cameras use a setting called ISO to control this reaction. A higher ISO number makes the sensor more sensitive to light. While this helps in dark conditions, it also introduces unwanted digital noise into your photos. You must find the "sweet spot" where your image is bright enough without looking messy. Think of this like turning up the volume on a radio; you hear the music better, but you also hear more background static.
| Setting | Primary Function | Trade-off Involved |
|---|---|---|
| Shutter Speed | Controls light time | Motion blur risk |
| ISO Level | Adjusts sensitivity | Digital noise gain |
| Aperture Size | Manages light flow | Focus depth limit |
Most photographers follow a specific process to ensure their images remain sharp and clear. They start by setting a wide aperture to let in as much light as possible. Then, they choose a shutter speed that is long enough to capture stars but short enough to avoid blurring. Finally, they adjust the ISO to brighten the image without adding too much electronic grain. By testing these three variables, you gain total control over how your camera interprets the dark night sky.
Following these steps allows you to master the basics of light collection. You will learn to predict how different settings change the final look of your celestial photographs. This path provides the fundamental skills required to turn dark, empty frames into detailed portraits of the universe. By the end of this journey, you will have the confidence to capture the beauty of the night sky using your own digital equipment.
Successful night photography relies on balancing the duration of light collection with the sensitivity of your digital sensor.
By mastering these exposure basics, you are now ready to explore the specific gear needed to support your camera during long night sessions.