
Horizon Placement
Imagine standing before a vast ocean view with your camera held perfectly level. You notice the line where the water meets the sky, but something feels slightly off about the framing. Photographers often struggle with this simple line, yet it defines the entire mood of a landscape shot. Placing the horizon correctly transforms a boring snapshot into a professional image that captures the viewer's full attention. Mastering this skill requires you to think about what part of the scene deserves the most focus.
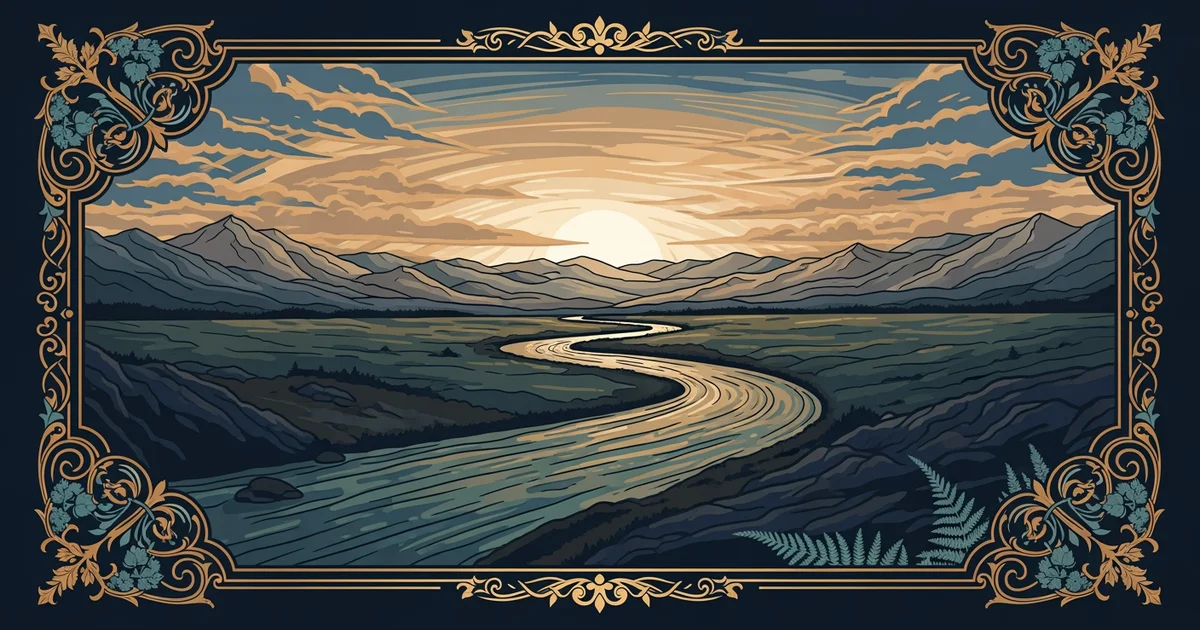
The Rule of Thirds and Horizon Placement
When you compose a photograph, you should treat the frame like a grid with three equal horizontal sections. Placing the horizon on the top line emphasizes the land or the water in the foreground. This choice works well when the ground contains interesting textures, shapes, or vibrant colors that tell a story. Conversely, placing the horizon on the bottom line shifts the focus toward the sky and clouds. This approach is ideal for capturing dramatic sunsets or storms where the atmosphere provides the primary emotional weight. Think of this process like managing a budget where you decide which visual elements earn the most space. If the sky is dull, you should invest more of your frame into the land to maintain interest. If the ground is plain, you should grant more space to the sky to create a sense of scale.
Key term: Rule of Thirds — a compositional guideline that divides an image into nine equal parts to help place important elements.
Adjusting for Emotional Impact
Beyond simple rules, you must consider the emotional message you want to convey through your photography. A low horizon creates a feeling of vastness by making the sky appear expansive and endless to the viewer. This technique often makes the observer feel small or humble when they look at the final printed image. A high horizon creates a sense of intimacy by pulling the viewer closer to the details on the ground. You can use these two positions to change how people interact with your work on a personal level. To choose the right level, you should evaluate the main subject of your scene before you press the shutter button. If the subject is a mountain, a lower horizon highlights its height against the open sky above it. If the subject is a field of flowers, a higher horizon keeps the focus on the colorful blooms.
| Horizon Position | Best Used For | Emotional Effect |
|---|---|---|
| Top Third | Foreground | Detail-oriented |
| Center Line | Symmetry | Static/Balanced |
| Bottom Third | Sky/Clouds | Expansive/Vast |
Using the center line is a common mistake for beginners because it creates a split image. This approach often leaves the viewer confused about which part of the photo matters the most. You should avoid placing the horizon exactly in the middle unless you are capturing a reflection. Reflections require perfect symmetry to look intentional rather than accidental. When you align a lake reflection with the horizon, the center placement becomes a powerful tool for balance. Always check your camera's virtual level or grid overlay to ensure that your horizon stays perfectly straight. A crooked horizon makes a beautiful landscape look unstable and unprofessional, which distracts the viewer from your main subject. Consistent practice with these placements will help you develop an intuitive sense for professional landscape composition over time.
Choosing where to place the horizon line determines whether your photograph highlights the beauty of the earth or the drama of the sky.
But what does it look like in practice when you start planning for the changing light of the day?