
Leading Lines Technique
Imagine standing at the edge of a long, winding forest trail that stretches toward the horizon. Your eyes naturally follow the path forward, moving from your feet all the way to the distant trees. This instinctive movement of the gaze is exactly what photographers aim to capture within their images. By using deliberate lines, you guide the viewer through your scene with purpose and clarity. This process turns a flat, static image into a dynamic experience that feels inviting and deep.
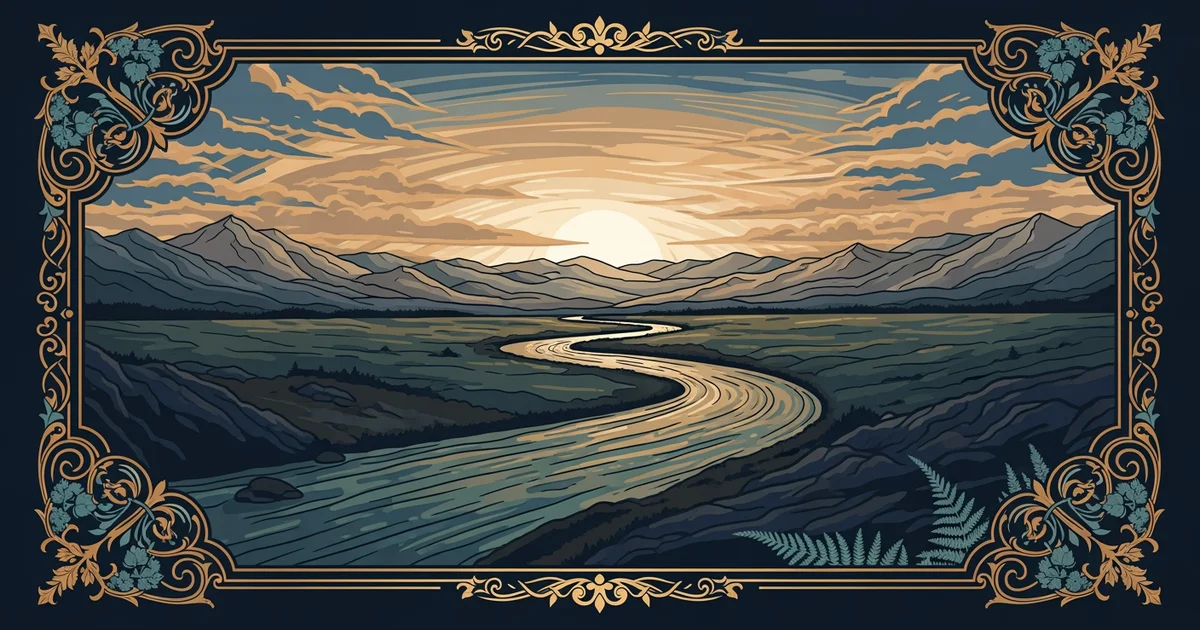
The Function of Visual Paths
When you compose a landscape, you must decide how the viewer interacts with the frame. Leading lines act as visual highways that transport the eye from the foreground toward your intended subject. Think of this like a store layout designed to guide shoppers past specific displays before they reach the checkout counter. If the path is clear, the viewer will follow it without hesitation or confusion. If the lines are messy or missing, the eye drifts aimlessly and loses interest in the photograph quickly.
Key term: Leading lines — physical or implied elements within a composition that draw the viewer’s eye toward a specific focal point.
To master this, you must look for natural shapes that cut across your scene. Rivers, fences, roads, or rows of trees can all serve as effective guides for the observer. You should place these lines so they start near the bottom edge of your frame. This placement ensures the viewer begins their journey exactly where you want them to start. If your lines start too high, the viewer might miss the intended story entirely.
Strategic Placement and Composition
Once you identify potential lines, you must carefully position them to maximize their impact on the final image. You should avoid placing lines that run straight across the middle, as this creates a distracting barrier. Instead, try to angle your lines toward the center or a point of interest. This technique creates a sense of depth that makes the photograph feel three-dimensional rather than flat. You can test this by moving your camera position slightly to change how the lines intersect.
There are several common ways to organize these visual paths for the best results:
- Diagonal lines create a sense of movement and energy, pushing the eye across the frame with speed and excitement.
- Converging lines meet at a single point in the distance, which emphasizes the scale and vastness of the landscape.
- Curved lines offer a gentle, natural flow that encourages the viewer to linger longer on the details within the scene.
Using these shapes requires patience, as you must often wait for the right angle or lighting condition. You might need to crouch low to the ground to make a small path appear more prominent. Alternatively, you could climb higher to reveal how a river winds through the valley below. The goal is always to ensure the path feels intentional rather than accidental. Every line should have a clear destination that rewards the viewer for following it to the end.
| Line Type | Visual Effect | Best Used For |
|---|---|---|
| Diagonal | High Energy | Roads or cliffs |
| Converging | Depth/Scale | Long hallways or paths |
| Curved | Soft Flow | Streams or coastlines |
By carefully selecting the direction of your lines, you maintain control over the viewer's experience. You are essentially acting as a guide, showing the audience the beauty you saw when you first arrived. Practice this by looking for lines in your daily life, even in simple rooms or city streets. Once you learn to see these pathways everywhere, your landscape photography will gain a professional level of polish and focus.
Leading lines function as a visual roadmap that directs the viewer’s attention toward your primary subject to create a sense of depth.
The next Station introduces foreground interest, which determines how those leading lines connect to the immediate space in front of your camera.