
Wheel Throwing Mechanics
Imagine you are trying to balance a heavy spinning top on a single finger while it wobbles wildly. If you do not apply steady pressure to the center, the top will fly off and crash against the floor. Working with clay on a potter's wheel requires that same level of focused control to ensure the material stays aligned with the spinning axis.
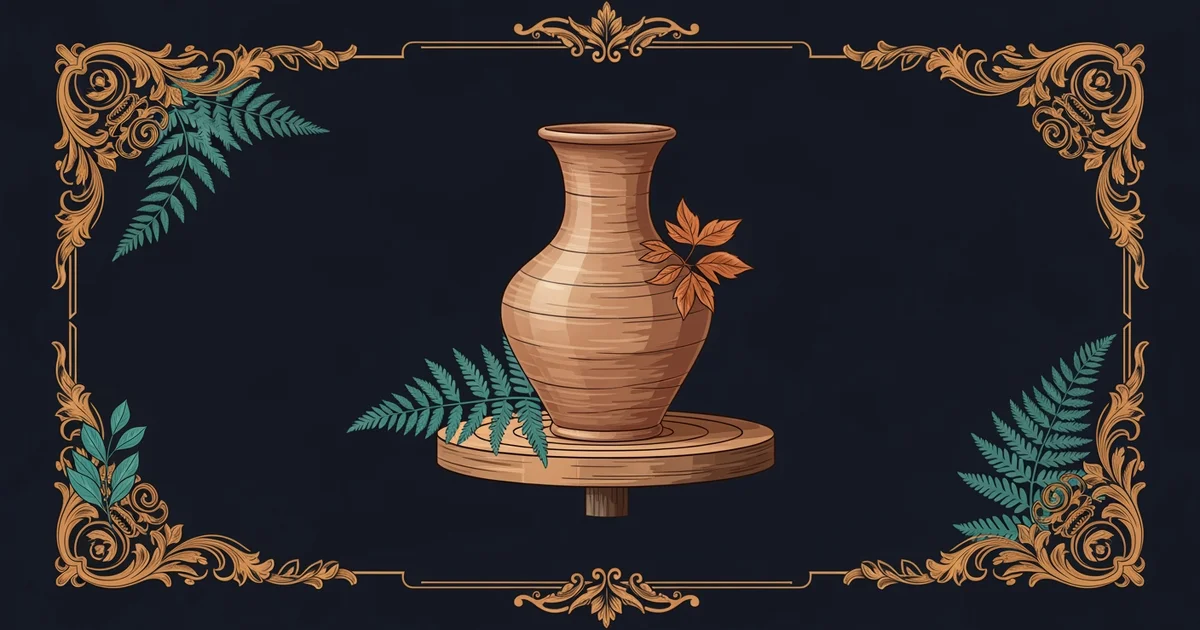
The Mechanics of Centering Clay
When you first throw a lump of clay onto the wheel head, it sits off-center and creates an uneven wobble. This imbalance happens because the mass of the clay is unevenly distributed around the center point of the spinning disk. To fix this, you must apply firm, consistent pressure to force the clay into a perfectly symmetrical shape. Think of this like balancing a checkbook; if you ignore the small errors early on, the entire final balance will be incorrect and unusable. By using your body weight and keeping your elbows braced against your legs, you create a stable anchor that resists the outward force of the spinning wheel. This process, known as centering, is the most critical step because it dictates the stability of the entire vessel you intend to build.
Key term: Centering — the physical process of applying steady pressure to a spinning mass of clay to ensure it is perfectly aligned with the axis of the wheel.
Once the clay feels steady beneath your palms, you must maintain that pressure while the wheel spins at a high speed. If you release your hands too quickly, the friction between your skin and the clay can cause the mass to shift suddenly. You should keep your hands damp to reduce this friction, allowing the clay to slide smoothly into the correct position. The goal is to make the clay appear as if it is standing still, even though the wheel is rotating rapidly beneath it. If you see the clay vibrating or shifting, it means the center of gravity is still misaligned. You must continue to apply pressure until the clay feels completely solid and calm under your steady grip.
Establishing Consistent Technique
After achieving a centered mound, you must prepare the clay for the next stage of the forming process. The following steps outline how to maintain control throughout the initial phase of wheel throwing:
- Coning up involves using both hands to squeeze the clay into a tall, narrow shape that aligns the particles evenly.
- Coning down requires pressing the tall mound back into a low, flat disk to compress the internal structure.
- Final shaping happens once the clay is perfectly centered, allowing you to begin opening the ball for your vessel.
These steps ensure that the clay is homogeneous and free of air bubbles that could cause collapse later. When you repeat this coning process, you build muscle memory that makes the clay easier to manage. If the clay remains lumpy, the walls of your pot will eventually become uneven and weak. Proper compression creates a uniform density throughout the entire piece, which prevents cracking during the drying phase. You should view the clay as a partner that requires constant guidance to reach its potential. If you force the movement too aggressively, you risk tearing the structure of the clay and losing your progress entirely.
By focusing on these mechanical foundations, you build the necessary strength in your hands to handle larger quantities of material. A well-centered piece of clay acts as a reliable foundation for every artistic choice you make later. You will find that the time spent mastering this single skill saves hours of frustration during the trimming and finishing stages. Consistency in your hand placement creates a rhythm that makes the entire throwing process feel more natural and fluid. As you gain confidence, the wheel will feel like an extension of your own movements rather than an external machine you are fighting against. Always remember that patience is the most important tool you have on the potter's wheel.
True mastery of pottery begins with the ability to force chaos into perfect symmetry through steady, disciplined physical pressure.
But what does it look like in practice when you finally begin to open the centered clay into a hollow form?
Want this with sources you can check?
Premium Learning Paths for Visual Arts & Photography are researched against open-access libraries — PubMed, arXiv, government databases, and more — with their distinctive claims cited to real sources and independently checked.
See what Premium includes