The Arduino Environment
You stare at a blank screen while your computer waits for instructions to control a physical device. Writing code for a robot feels like giving silent commands to a machine that cannot speak your language.
The Software Interface
The Arduino IDE acts as the essential translator between your human thoughts and the silicon brain. Think of this software as a digital workshop where you assemble instructions for your hardware components. You open the application to find a clean workspace that provides tools for typing, saving, and sending your logic. Without this specialized environment, your computer would have no way to package code into a format the chip understands. It manages the complex process of turning your typed text into machine instructions that trigger real physical motion. You must learn how to navigate these menus to ensure your hardware receives the correct signals every single time. The interface simplifies the technical hurdles that would otherwise stop a beginner from building their first electronic project today.
Key term: Arduino IDE — the primary software platform used to write, compile, and upload code onto a microcontroller board.
Once you have written your commands, the software performs a check to ensure your logic follows strict rules. This process is like a teacher proofreading an essay before it gets published for the whole school. If you miss a semicolon or misspell a command, the software highlights the error in red text. This feedback loop helps you fix mistakes before you try to run the code on the physical hardware. It saves you from the frustration of guessing why your robot does not move as expected. By mastering this check, you build the habit of writing clean code from your very first day.
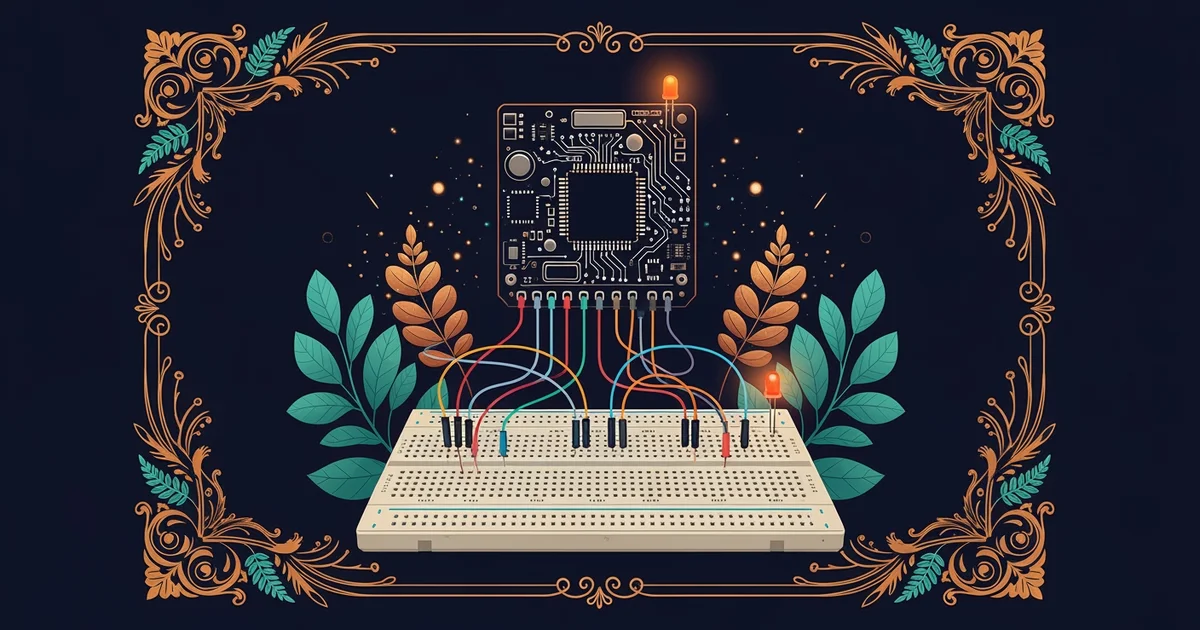
Managing Your Hardware Connections
After you verify your code, you must tell the software exactly which hardware board you are using. The platform uses a specific menu to identify the unique chip on your board so it can format the data correctly. If you select the wrong hardware, the software will send instructions that the chip cannot possibly execute. You also need to choose the right communication path so the computer knows where to send the file. This connection acts like a digital bridge between your laptop and the small chip waiting for data. Following these steps ensures that your code travels safely from your keyboard to the board.
| Feature | Purpose | Importance |
|---|---|---|
| Verify | Checks for code errors | Prevents bugs in hardware |
| Upload | Sends code to board | Activates the physical device |
| Serial Monitor | Displays live data | Helps track system performance |
These three tools provide the foundation for every project you will ever build with this platform. You use the verify button to test your logic before committing it to the physical hardware. The upload button acts as the final step that pushes your instructions into the permanent memory of the chip. Finally, the serial monitor allows you to peek inside the chip while it runs your code in real time. Using these tools together creates a reliable workflow that keeps your development process organized and efficient. You will find that these functions become second nature after you complete your first few simple projects. They turn the abstract act of programming into a tangible process of building and testing real machines.
The software environment bridges the gap between human logic and machine action by providing tools to write, verify, and upload instructions to your hardware.
Now that you can navigate the software, you must understand how electricity flows through your components to create actual movement.